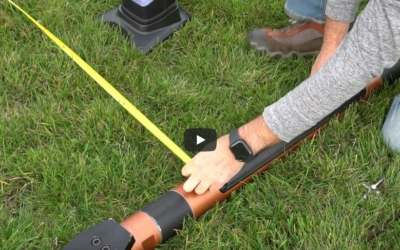
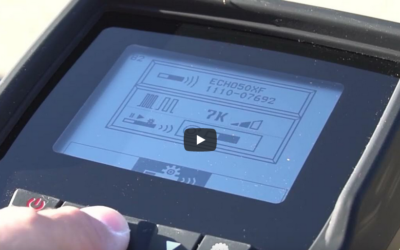
The latest version of Mag Series software enables operators to perform down hole frequency changes from the receiver or display.
From the Receiver
Note: The desired frequency should be calibrated prior to a downhole change.
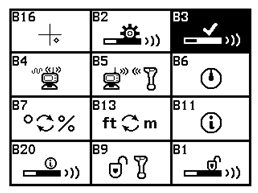
- Press and hold the Settings button until the Setup menu appears.
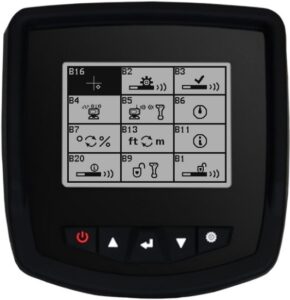
- Press the Down button to cycle through the options until B14 is selected.
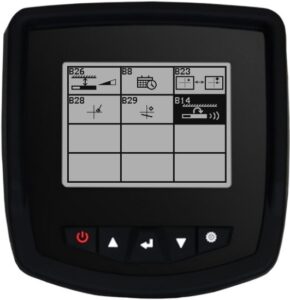
- Press the Enter button to open the Down Hole Frequency Change menu.
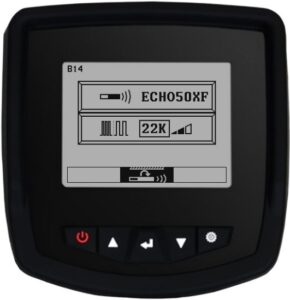
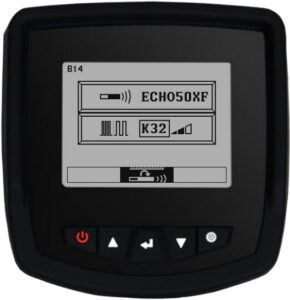
- Press the Up or Down button to select your desired frequency, in this case we will select K32 (.325 kHz) and press the Enter button to confirm your selection.
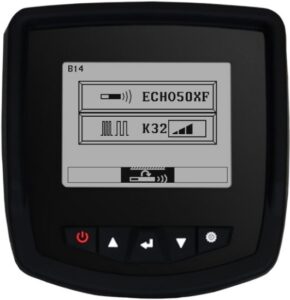
- Press the Up or Down button to select your desired Power Mode, in this case select High Power.

- Press the Enter button again to start the roll guide sequence.
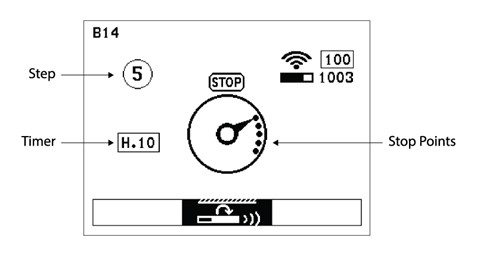
- This sequence of timed clock positions is 6 steps taking about three minutes to complete.
(Note: the drill operator will see the same screen from the display)
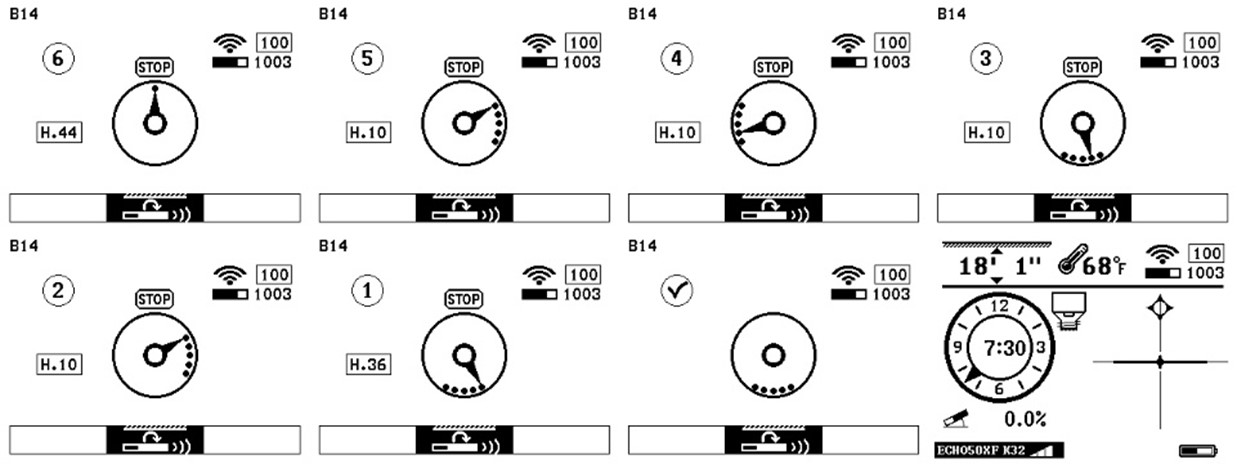
- Rotate the drill head clockwise until the roll indicator points toward the Stop Point(s).
Instructions will change from the Clockwise Arrow to STOP - Rotate the drill head until the roll indicator points toward the Stop Point(s) in sequence before the Timer reaches 0 or the sequence will be cancelled.
(Note: If the Stop Point(s) do not move, rotate the drill head one full rotation until the roll indicator points toward the Stop Point(s) - Repeat this process until all six steps of the sequence are complete.
- If done correctly, a Check Mark will appear.
- Press the Settings button return to the Locate screen.
- After a few seconds the data will reappear, and the operator is ready to resume drilling.
From the Display
Note: The desired frequency should be calibrated prior to a downhole change.
- First, choose the desired frequency the transmitter needs to be switched to.
- Then, choose the power level.
- Tap the center of the roll indicator to begin.
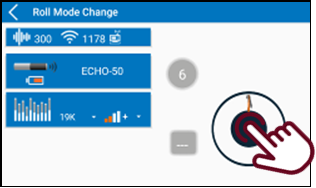
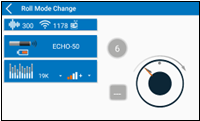
- Rotate drill head clockwise until the roll indicator points toward target dot.
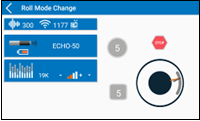
- Instructions will change from the clockwise arrow to “STOP”
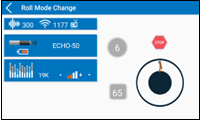
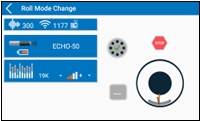
- Rotate drill head to next position in sequence before the counter reaches 0 or the sequence will be cancelled.
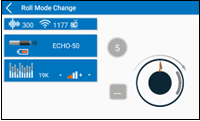
- If the next step has the target dots in the same place as the previous step, rotate the drill head one entire rotation until the roll indicator lines up with the target dots again.
- Once all six steps of the sequence are complete a check mark will appear.
- Next, change the Transmitter Settings on the receiver (B3) to match the new frequency and power levels.
